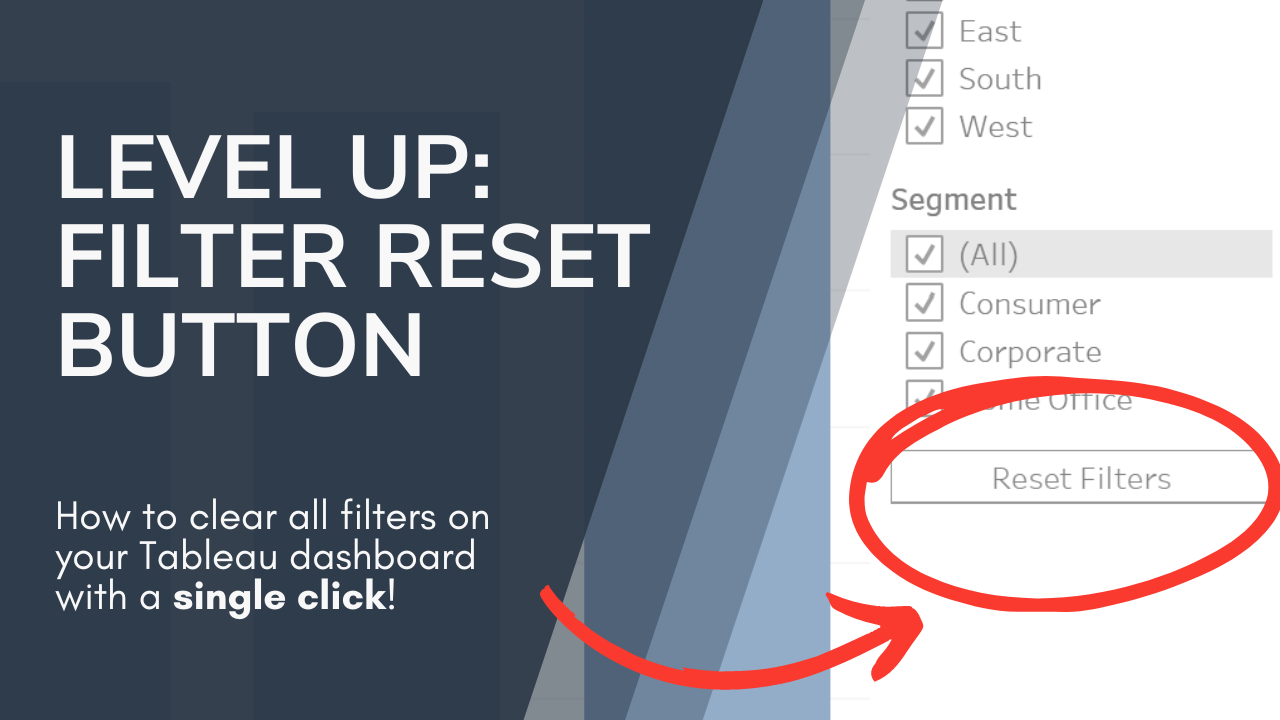
When you have a Tableau dashboard with lots of filtering options, it’s easy to dive too deep into the filters and get a bit lost. When that happens to your users, an easy “reset filters” button is a lifeline! Creating a handy one-click way to clear filters is an essential skill in every Tableau designer’s toolkit. In today’s blog post, I’ll show you how to create a filter reset button. (Plus, I’ll walk you through how to get rid of the blue highlighting that you might be left with after following some other tutorials out there.)
Start by opening up a new sheet in your workbook. You’ll need to create a dummy text field to act as the reset button – my favorite way to do this is by double clicking in the rows pane and typing “reset filters” (or whatever you want your text to be).

Then drag the pill you just created down to the text pane.

I’ve dragged the edge of my text box so I can see the whole thing, but you don’t have to do this – it won’t matter in the end.
This is a good time to apply some styling to your button. You can keep it as plain text with a black background if you want, or mix it up. Here are a couple easy options:
- Right click the text, select “format”, and change the background color and text color

- Right click the text, select “format”, go to the borders section and add cell borders

- Change the mark type to “shape”, drag the text pill to “shape”, and set it to an icon instead of text. (You can take this further by adding a custom shape or using labelling to add text to the icon)

I’m going to use the simple button with a border for the rest of this tutorial, but feel free to experiment here! You can take button formatting as far as you want to.
Before we move on to making our button work, this is also a good time to clean things up a bit. Take a minute to change your tooltip text to something more helpful, and make sure your text alignment is where you want it to be.
Now let’s add this button to our dashboard. Drag the new sheet onto your dashboard in the desired location, and set the display to “Entire View”.

Tip: If you have your button in a sidebar like I do here, you might need to add a blank element underneath it to get the spacing right. You can also adjust the padding on the button sheet so that it’s the size and position you want
Now let’s add our actions. In the top toolbar, go to Dashboard -> Actions. Then select “Add Action”, and choose “Filter”.

As we create this action, we’re going to specify which filters should be cleared, and when. Start by selecting the source sheet – this should be the sheet with your button. (I didn’t name my sheets with helpful names here, but if you have more than 2, you should!) Set the “Run Action On” option to “Select”. This means that when you click your sheet, the action will happen.

Now we can set the target sheet section. Select all sheets that use the filters you’re clearing. (Typically, you can just select all sheets on the dashboard). While you’re here, set “Clearing the Selection” to be “Show All Values”.

Finally, set the “Filter” option at the bottom to “Selected Fields”. In the source field column, add all of the filter fields that you want to clear.

You’ll get a “Missing Fields” warning at the bottom – don’t worry, it’s not a problem. Click OK, and test your new “reset filters” button!
Tip: It’s always a good idea to wait to add dashboard actions until you are done creating your dashboard. If you add any new sheets to your dashboard now, they’ll be automatically added to the source/target selections and you’ll need to edit the action and remove them.
You might notice a problem when testing your button: When you click it, the button gets highlighted and turns blue.

This isn’t technically a problem – the button still works just the same – but it doesn’t look great, and I prefer to get rid of it. To do this, we’ll need to edit some fields and add an extra dashboard action. Here’s how:
Start by going back to your button sheet. You’ll need to add two calculated fields, called “True” and “False”, with values of TRUE and FALSE respectively. Add both of them to the detail pane.

Now go back to your dashboard and add a new dashboard filter action. (Dashboard -> Actions -> Add Action -> Filter). Set the source sheet to be your button sheet, and “Run Action On” to “Select”.

Under the target sheet section, use the drop-down menu to select the button sheet. (Don’t just select it with the checkboxes. We need this filter to be applied directly to the sheet.) Set “Clearing the selection” to “Show all values”

Finally, go down to the filter section and set it to “Selected Fields”. Put “True” as the source field, and “False” as the target field.

Select OK, and go back to your dashboard. Now when you click your button, the blue highlight won’t appear! (This was a quick run-through of one method for removing selection highlighting in Tableau – if you’d like to see a deeper overview of all the available methods, please do let me know!)
With that, your “reset filter” button is done. If you’re like me, you’ll now change the filters and click the buttons twenty times in a row because it’s so satisfying. Enjoy!
Resources and references:
- The Salesforce documentation covers filter reset basics here.
- I’ve been using this de-highlighting method long enough that I can’t remember where I originally learned it, but I often reference this guide from Bizstory when I forget the steps.
The Level Up series is designed to take Tableau beginners from out-of-the-box functionality to the next level of design and analytics, and features tip and tricks to make your dashboards more professional and polished. Make sure to check out the other posts in the Level Up series before you go!
Leave a Reply